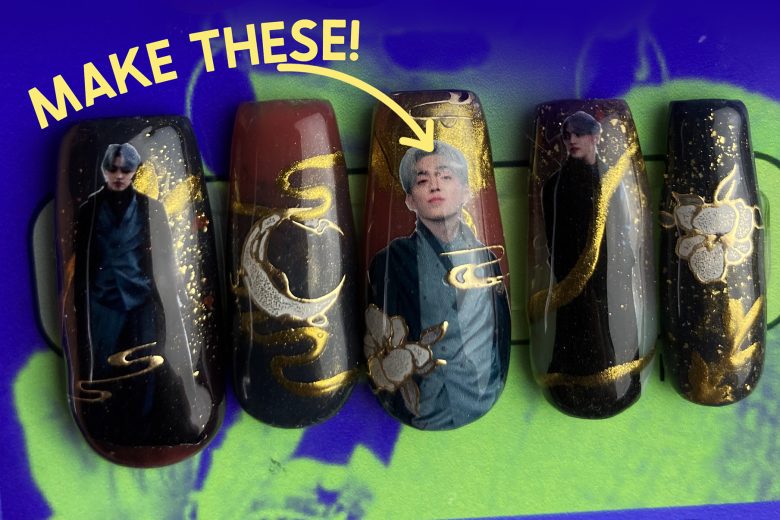
I like to put pictures on nails.
I feel like any sort of quick browse through my nail gallery will tell you that ya girl, she loves putting pictures of stuff on nails, usually Kpop stuff, but other stuff sometimes too. However, there really isn’t a way to buy stickers of kpop artists or whatnot to put on nails, so you’ve got to get into the DIY spirit and do it yourself sometimes, and I want you to be able to do it too!
What You’ll Need:
- White Waterslide Decal Paper (I use this brand)
- Inkjet Printer
- Ruler or Nail Size measurements
- Photoshop or a Photo editing program of your choice
- Clear Spray paint or sealant
- Scissors and an Cutting Knife
- Patience
The Photoshop Section:
1. First off, we have to start by creating a new document that is letter sized (8.5X11 inches), or whatever size your waterslide decal paper is, in Photoshop.
*Most photo editing programs will work, but I use photoshop, and that’s the only one I can walk you through step by step, however these steps can be done in most programs, but the locations of the settings may be in different locations.
2. Create your sizing templates. Basically measure the nail sizes that you want to make decals for width and height wise, add a millimeter to each measurement, and create a rectangle in that size, filling it in with a colour. I generally make one for a size 0 nail, size 6 nail, and size 11 nail for each nail shape I’m making decals for, and then keep them in their own layer to scale my decals to later.
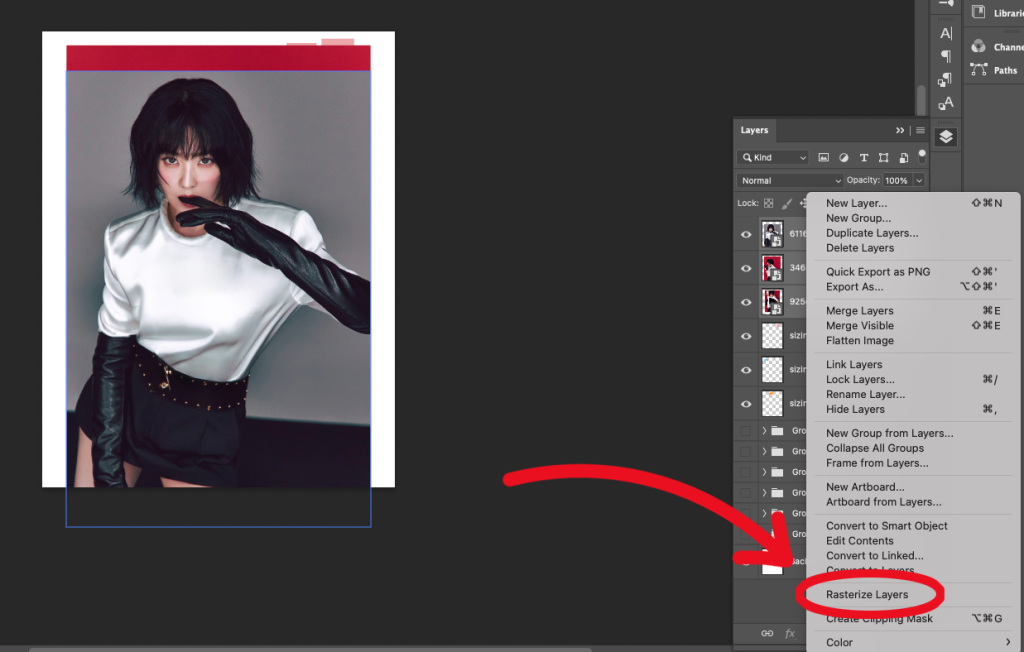
3. Drag all of the images you want to turn into decals into your document. After you pull in all the images, shift click all of them in the layers tab, right click and choose “rasterize layers.” This makes it so you can easily delete elements from the images.
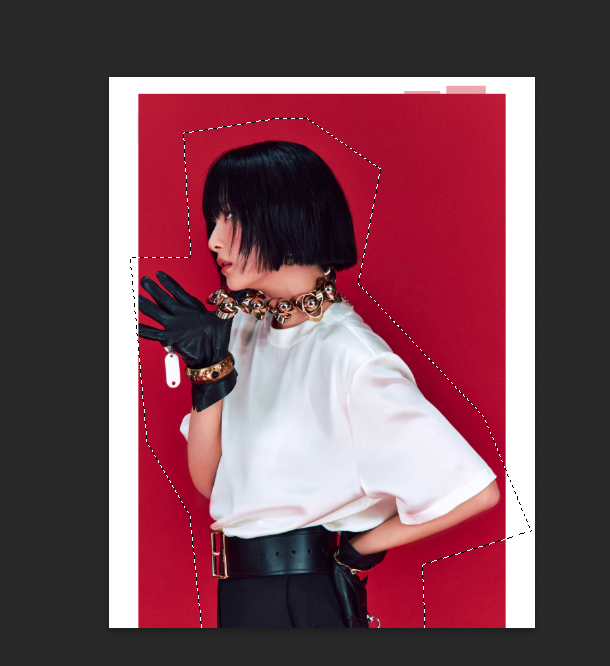
4. Next up we want to go image by image and delete the background. To do this, select the “Select subject” on the bar that hovers underneath your image in photoshop, or go to “Select -> Subject”. It will create a dotted line around what photoshop thinks the subject of the image is. This is often not… perfect, but if you select the polygonal selection tool, and hold shift, you can trace around any elements left out of the image. Hitting Option on mac or alt on windows when clicking with the polygonal selection tool will remove whatever you’re tracing from the image.
If you don’t really care too much about the background, or it’s a solid colour that you intend to make the background of the nail, you can just do a rough drag around the subject with a polygonal selection tool.
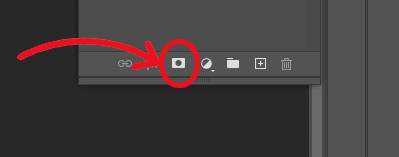
5. Once you’re happy with your selection, hit the mask tool on the bottom of the layers bar.
7. Hit Ctrl+T or go to “Edit->Transform->Scale” and, while holding shift, size down the image by dragging the corners, to fit inside the sizing rectangle.

8. Repeat for every image. I tend to group my images by the nail set I plan on making, and merging down the layers for each set of pictures into one layer, so it’s easier to organize them all on the sheet for maximizing print space.
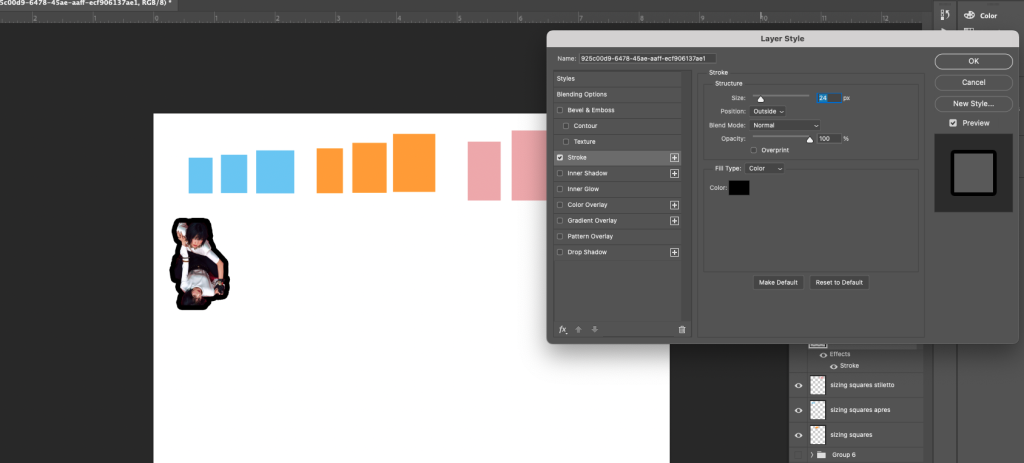
9. As an optional aside, if I plan on the background of the nail being Black, I will add a black stroke around the image so I don’t need to be as precise with my cutting later on. (Hit the Fx Button on the bottom of the layers menu, choose stroke, and change the weight and colour to your liking)
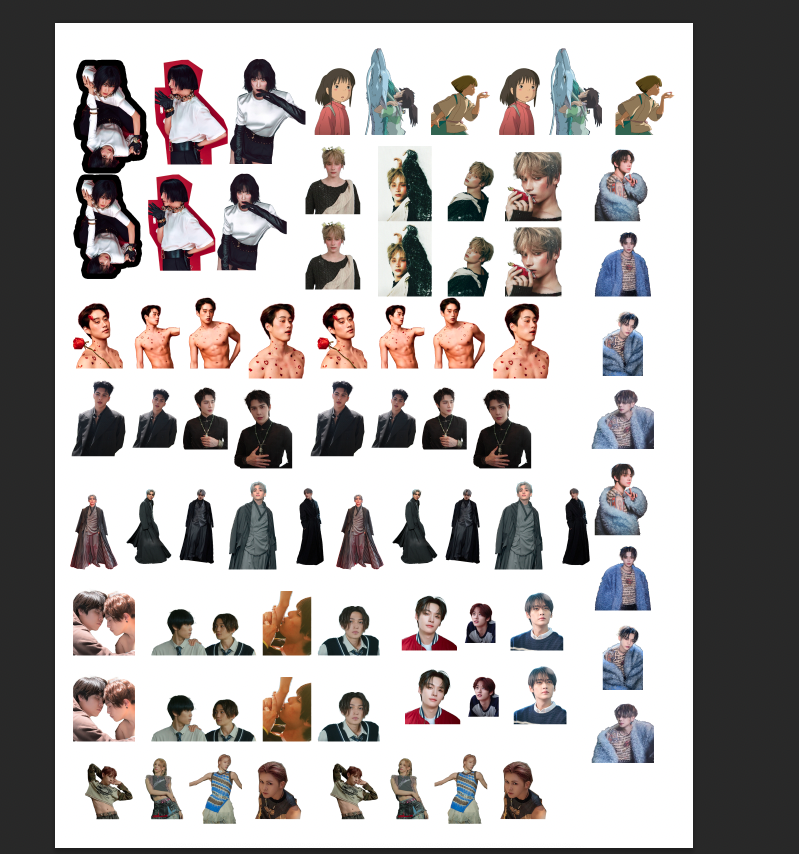
10. Once you have all the images set up, organize them on the sheet for printing. I tend to double each of my decal sets just in case I mess up with cutting, but you can definitely fill each sheet with different ones and never double them up. Make sure to hide the nail size rectangle layer, and make sure none of the decals are overlapping before hitting print.
11. Print using the glossy paper setting for your printer, on the highest quality setting. I use an Epson Ecotank printer, and these are my settings:
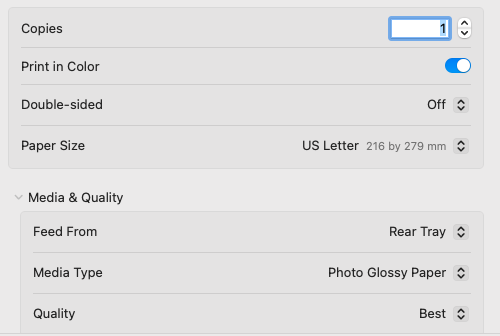
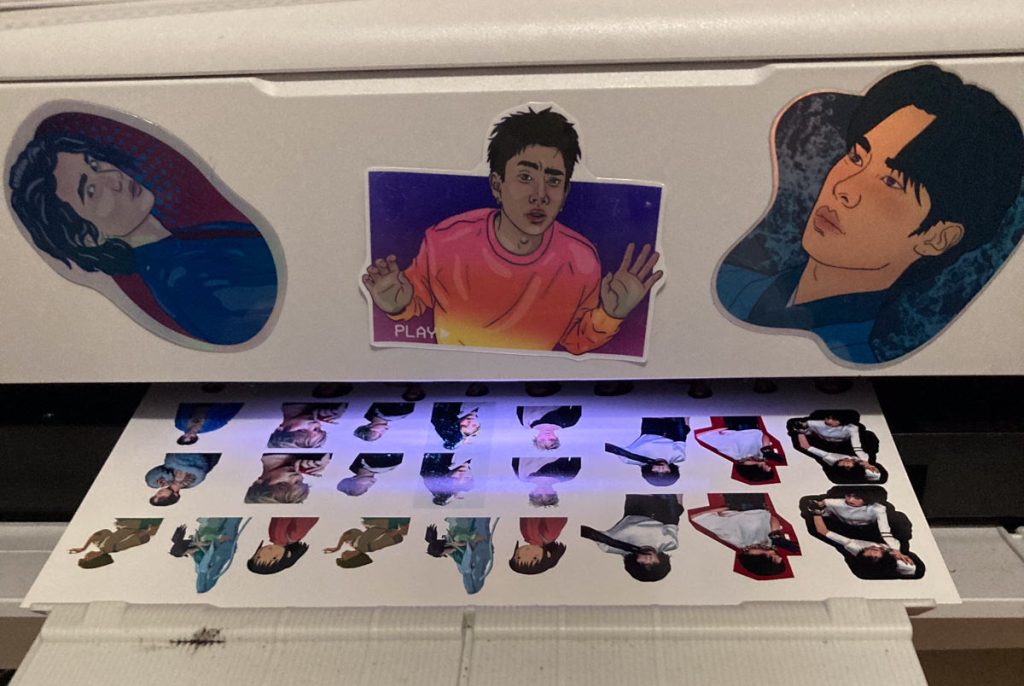
12. Print, and We’re ready for the non-computer step.
Prepping for Application
1. After the decals print I generally like to let them sit out for at least half an hour because I’m paranoid about ink smearing if it’s not fully dry, but this is totally optional, however I do recommend it.
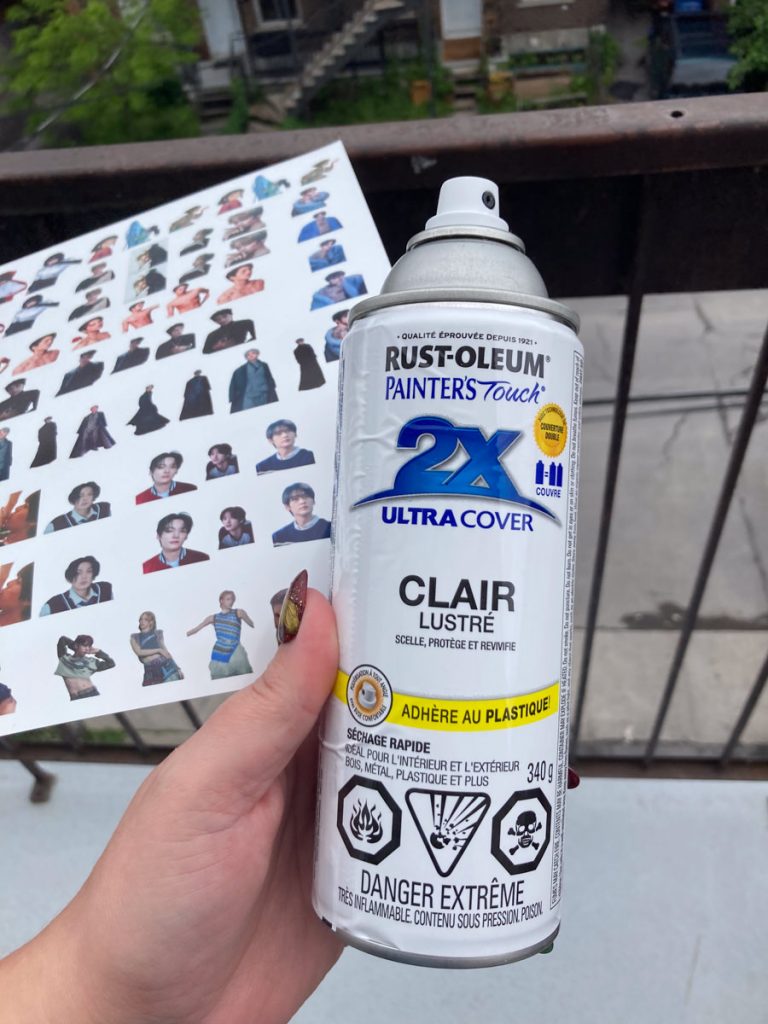
2. Take your spray paint or spray sealant, and go outside or to a well ventilated area. Spray the decal paper image size up, making sure to get the entire paper. I tend to do two passes to be safe. Let the decal paper fully dry, I generally wait at least an hour before moving on to the next step.
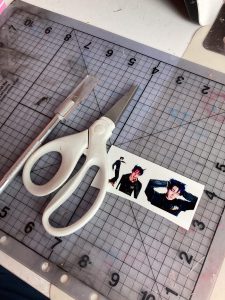
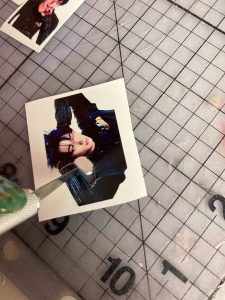
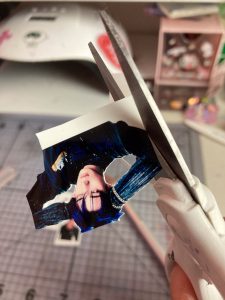
3. All that’s left is to cut them out. I find scissors a bit easier than cutting blades personally, so I carefully cut the outside if each image with scissors, using a cutting blade if there is a bit from inside a decal that needs to be cut (for example if there’s a bent elbow) or a curve or turn that’s a bit too tricky for scissors. The decals are very very tiny, so it might take some practice! Be Careful when removing it from the paper post cut when using a cutting blade, as sometimes little edges can get stuck and tear if you don’t go over it again.

4. And that’s basically it! All that’s left is to dunk them in water and slide the backing off before sticking them on your nails. Be sure to file any edges that hang over the edge of the nail after sticking them on, and to seal them in well, otherwise they can peel off, ruining your nail design. In addition, if you notice there’s a tiny bit of white showing after putting the decal on that you missed when cutting, I have been able to use a cutting blade to carefully pick it off, or you can always do a little dot of background colour of nail gel to hide it.
As a note, you can also get clear waterslide decal paper, which means you can be less precise with cutting, however you are limited by what colours of nail background you can put the decal on, so keep that in mind.
And that’s It!
All in all this is a pretty laborious process, but the more you do it the quicker you get. I can bang out a page full of decals in no time flat, and they really do a lot to zazz up a nail set.
Hopefully this is helpful for someone looking to get into the world of their own images on nails! Happy painting!