I have been engaged in making a series of pride nails for my friends as June is very quickly approaching, and because my friends are as far gone in fandom as I am, for some of them I decided to make some fandom themed pride nails with their favourite BL Actors.
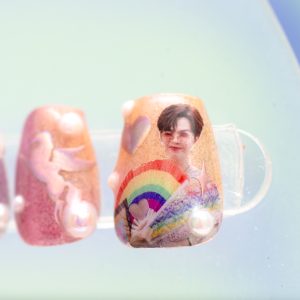
One of my friends absolutely adores Earth Katsamonnat, known sometimes as Cooheart, a Thai actor who primarily acts in queer media. He had an incredible Pride parade fit last year, so I took some of those images, made decals, and set about making a set of nails for her! And you can make the same set too! They’re fairly simple and look absolutely exquisite for the amount of work they take.
What You’ll Need:
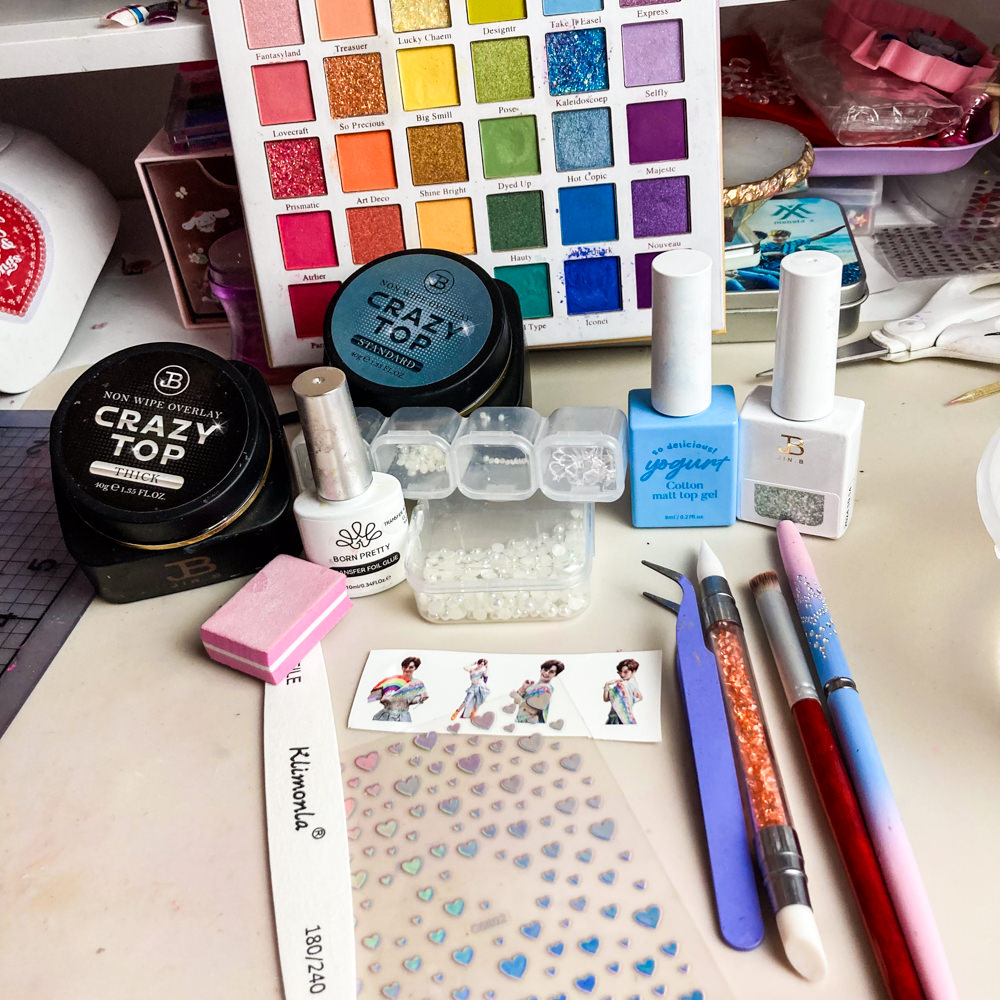
- Sized Out Coffin Nail Tips, tips filed and surface buffed
- Base Coat (I use This)
- Silver Glitter Gel Polish (I used the silver from this set)
- Rhinestone Glue or Similar (I Use JinB Crazy Top Thick)
- Matte Top Coat (Not Pigment Blocking! I use this)
- Medium to Thin Viscosity Top Coat (I use JinB Crazy Top Medium)
- Foil Gel (Optional, helps stickers and decals stick better)
- Eyeshadow or Pigment Palette with Rainbow Colours (I got mine from the dollar store)
- Holographic Stickers (I used These)
- Flatback Pearls (I used these)
- Character Stickers or DIY Decals (Optional!)
- 2 Iridescent Bow Charms (Not Sure where mine came from I’ve had them forever!)
- Tweezers, Silicone Tool, Nail Art Brushes, Gloves. and a curing lamp.
- Isopropyl alcohol and wipes/paper towel.
How to Make Em
1- Glove up! You don’t want uncured gel on your hands! Put a nice thin basecoat on all of the nails, and cure them fully. Once cured, you’re going to apply 1-2 coats of the silver glitter gel polish, depending on how full of glitter it is. You want these glittery! I used two coats. Cure well, and wipe with
2- Give each nail a coating of matte top coat. Be sure to cover the entirety of the nail or the powder in the next step won’t stick properly. Cure fully.

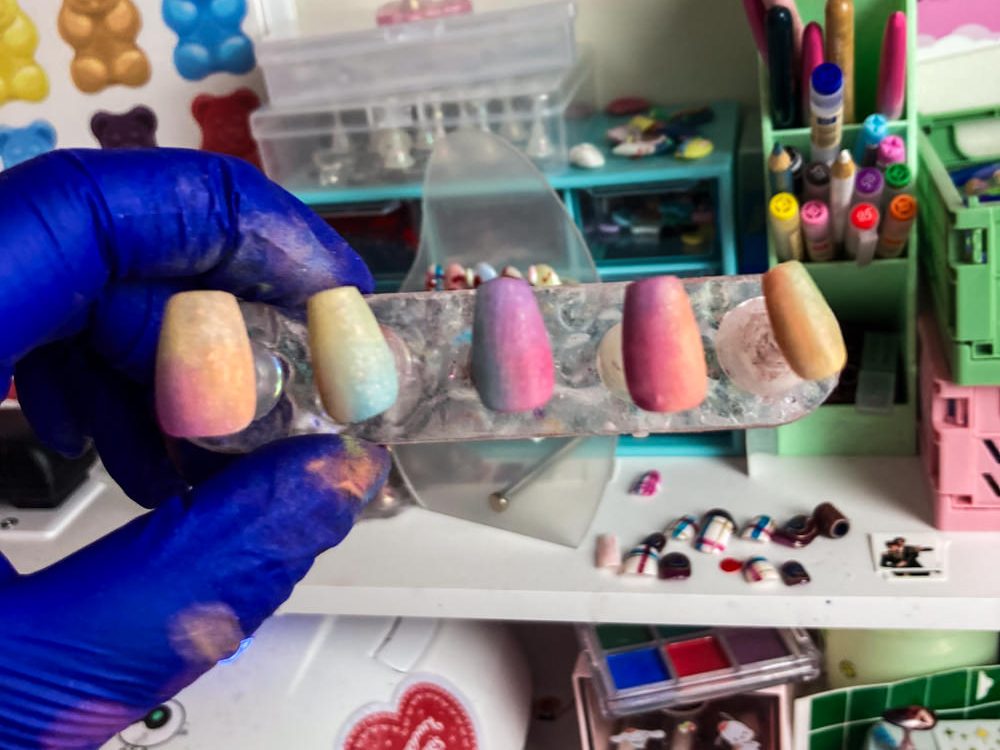
3- Using a gradation brush (or any slightly fluffy brush) pick up the colours from the pallet and begin to apply them to the nails, blending different colours together to make a nice ombre between colours. This step is pretty fun. If you mess up or don’t like the placement, wipe it off with alcohol, let the nail dry, and try again. Make sure to wipe your brush well on paper towel between colours, or they’ll start to get really muddy. When you’re done, The nails will look pastel and matte like this.
4- Take a file, and gently file around the edges of each nail. This will remove a bit of powder around the edges so that when you seal the powder in it won’t chip or lift as easily. Brush off any dust with a fluffy brush, and coat with some thin basecoat, be sure to float it gently over the nail so it doesn’t drag through the powder. Cure well and then wipe the nails with isopropyl alcohol to remove the sticky layer.
5- Optional Step! Apply Foil Glue Gel to each nail and cure! This WILL help the decals and stickers stick easier, however you won’t be able to remove them once you put them down, so wherever you stick them will be much more permanent than they would be without it!
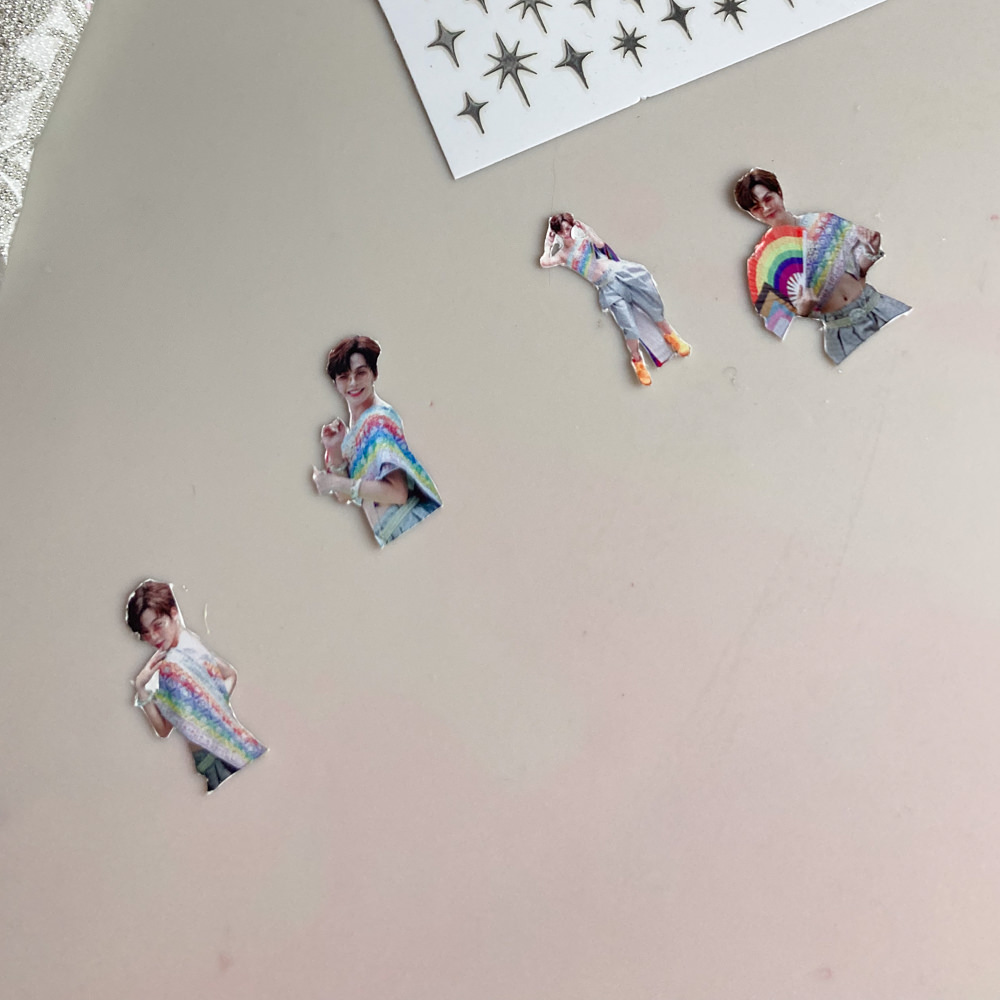
6- Apply stickers, making sure to firmly push them down onto the nail so all the edges are firmly attached. If using homemade waterslide decals, dip them in water and remove the backing paper, placing them onto the nail and firmly pressing them down until they fuse. Use a file around the edges to remove any overhand of stickers and decals. (If you want the Earth decals I used, Download the PNG here)
7- Top the stickers and decals in a thin base coat to make sure they don’t move when applying the charms. Cure.
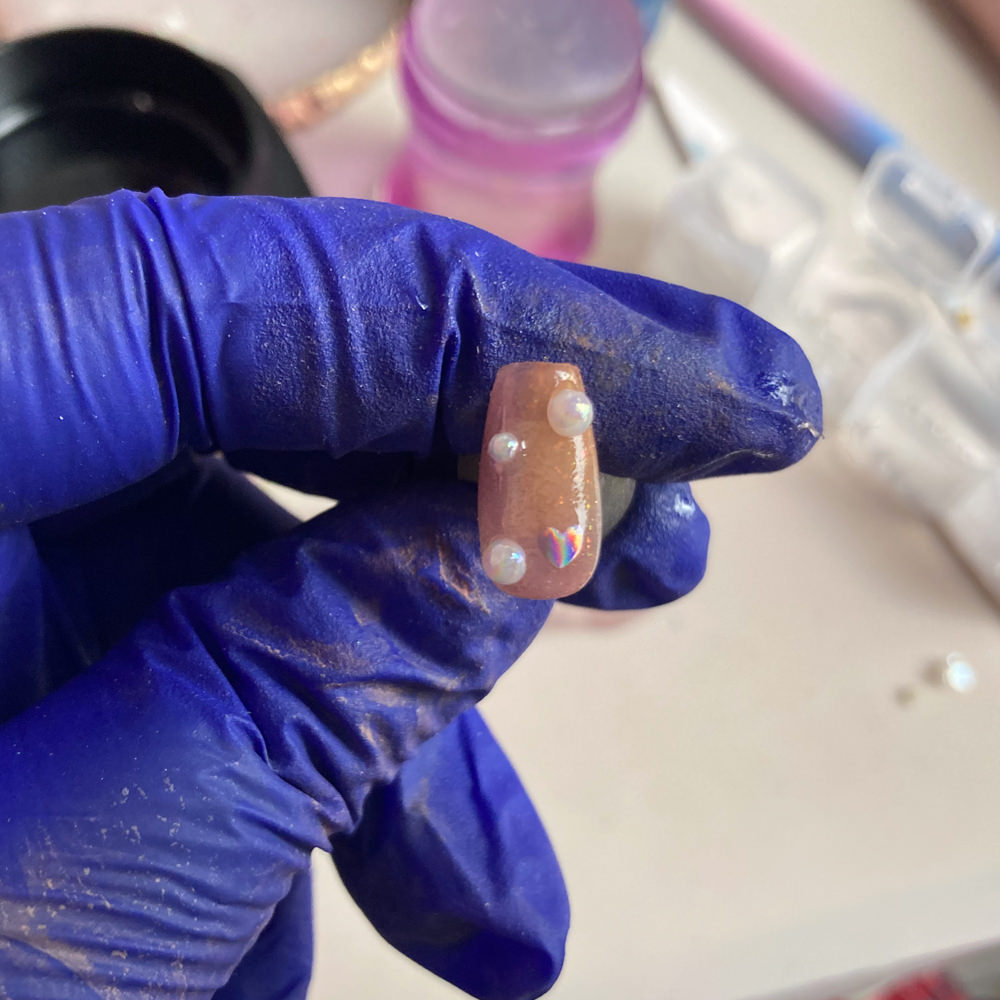
8- Using rhinestone glue or thick charm gel, affix the pearls and the iridescent bows in place on the nails, curing each nail as you do so that they don’t slide off.
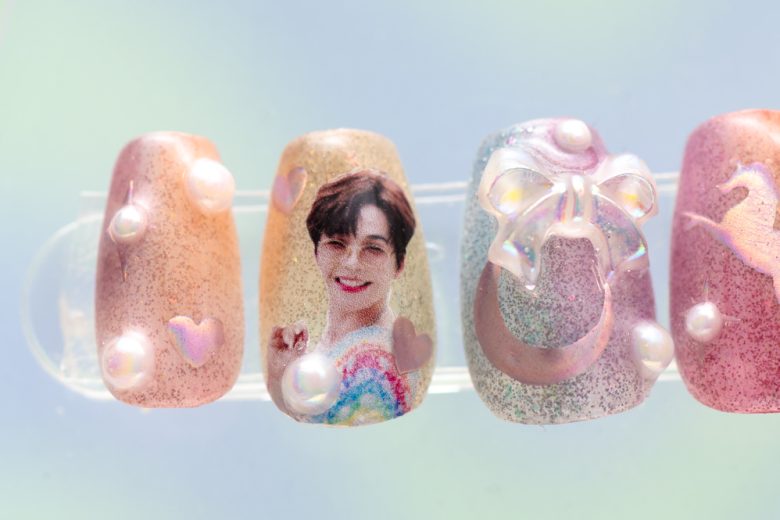
9- Finally, topcoat everything! Make sure to topcoat the pearls and even thinly topcoat the bows, charms with iridescent and pearlescent coatings tend to wear off with normal wear if you don’t put an extra topcoat on them. Make sure the cure the nails fully, and voila! A beautiful pastel set of shimmery nails!
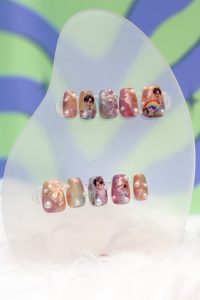

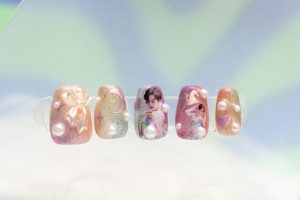
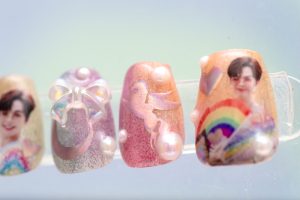
I love how these came together!!!